Our Thanksgiving Spread

Happy Thanksgiving! I hope your day was filled with warmth, love & full bellies! I am thankful for every day. Every sunrise or sunset I get to see makes me filled with gratitude. However I'm thankful most for my husband, Gilles and our fur baby, MaQ. They are my family and without them I'm not sure where I would be today. Their love makes each day worth getting up for. I love these two more than anything else in the world. Thank you both for always having my back.

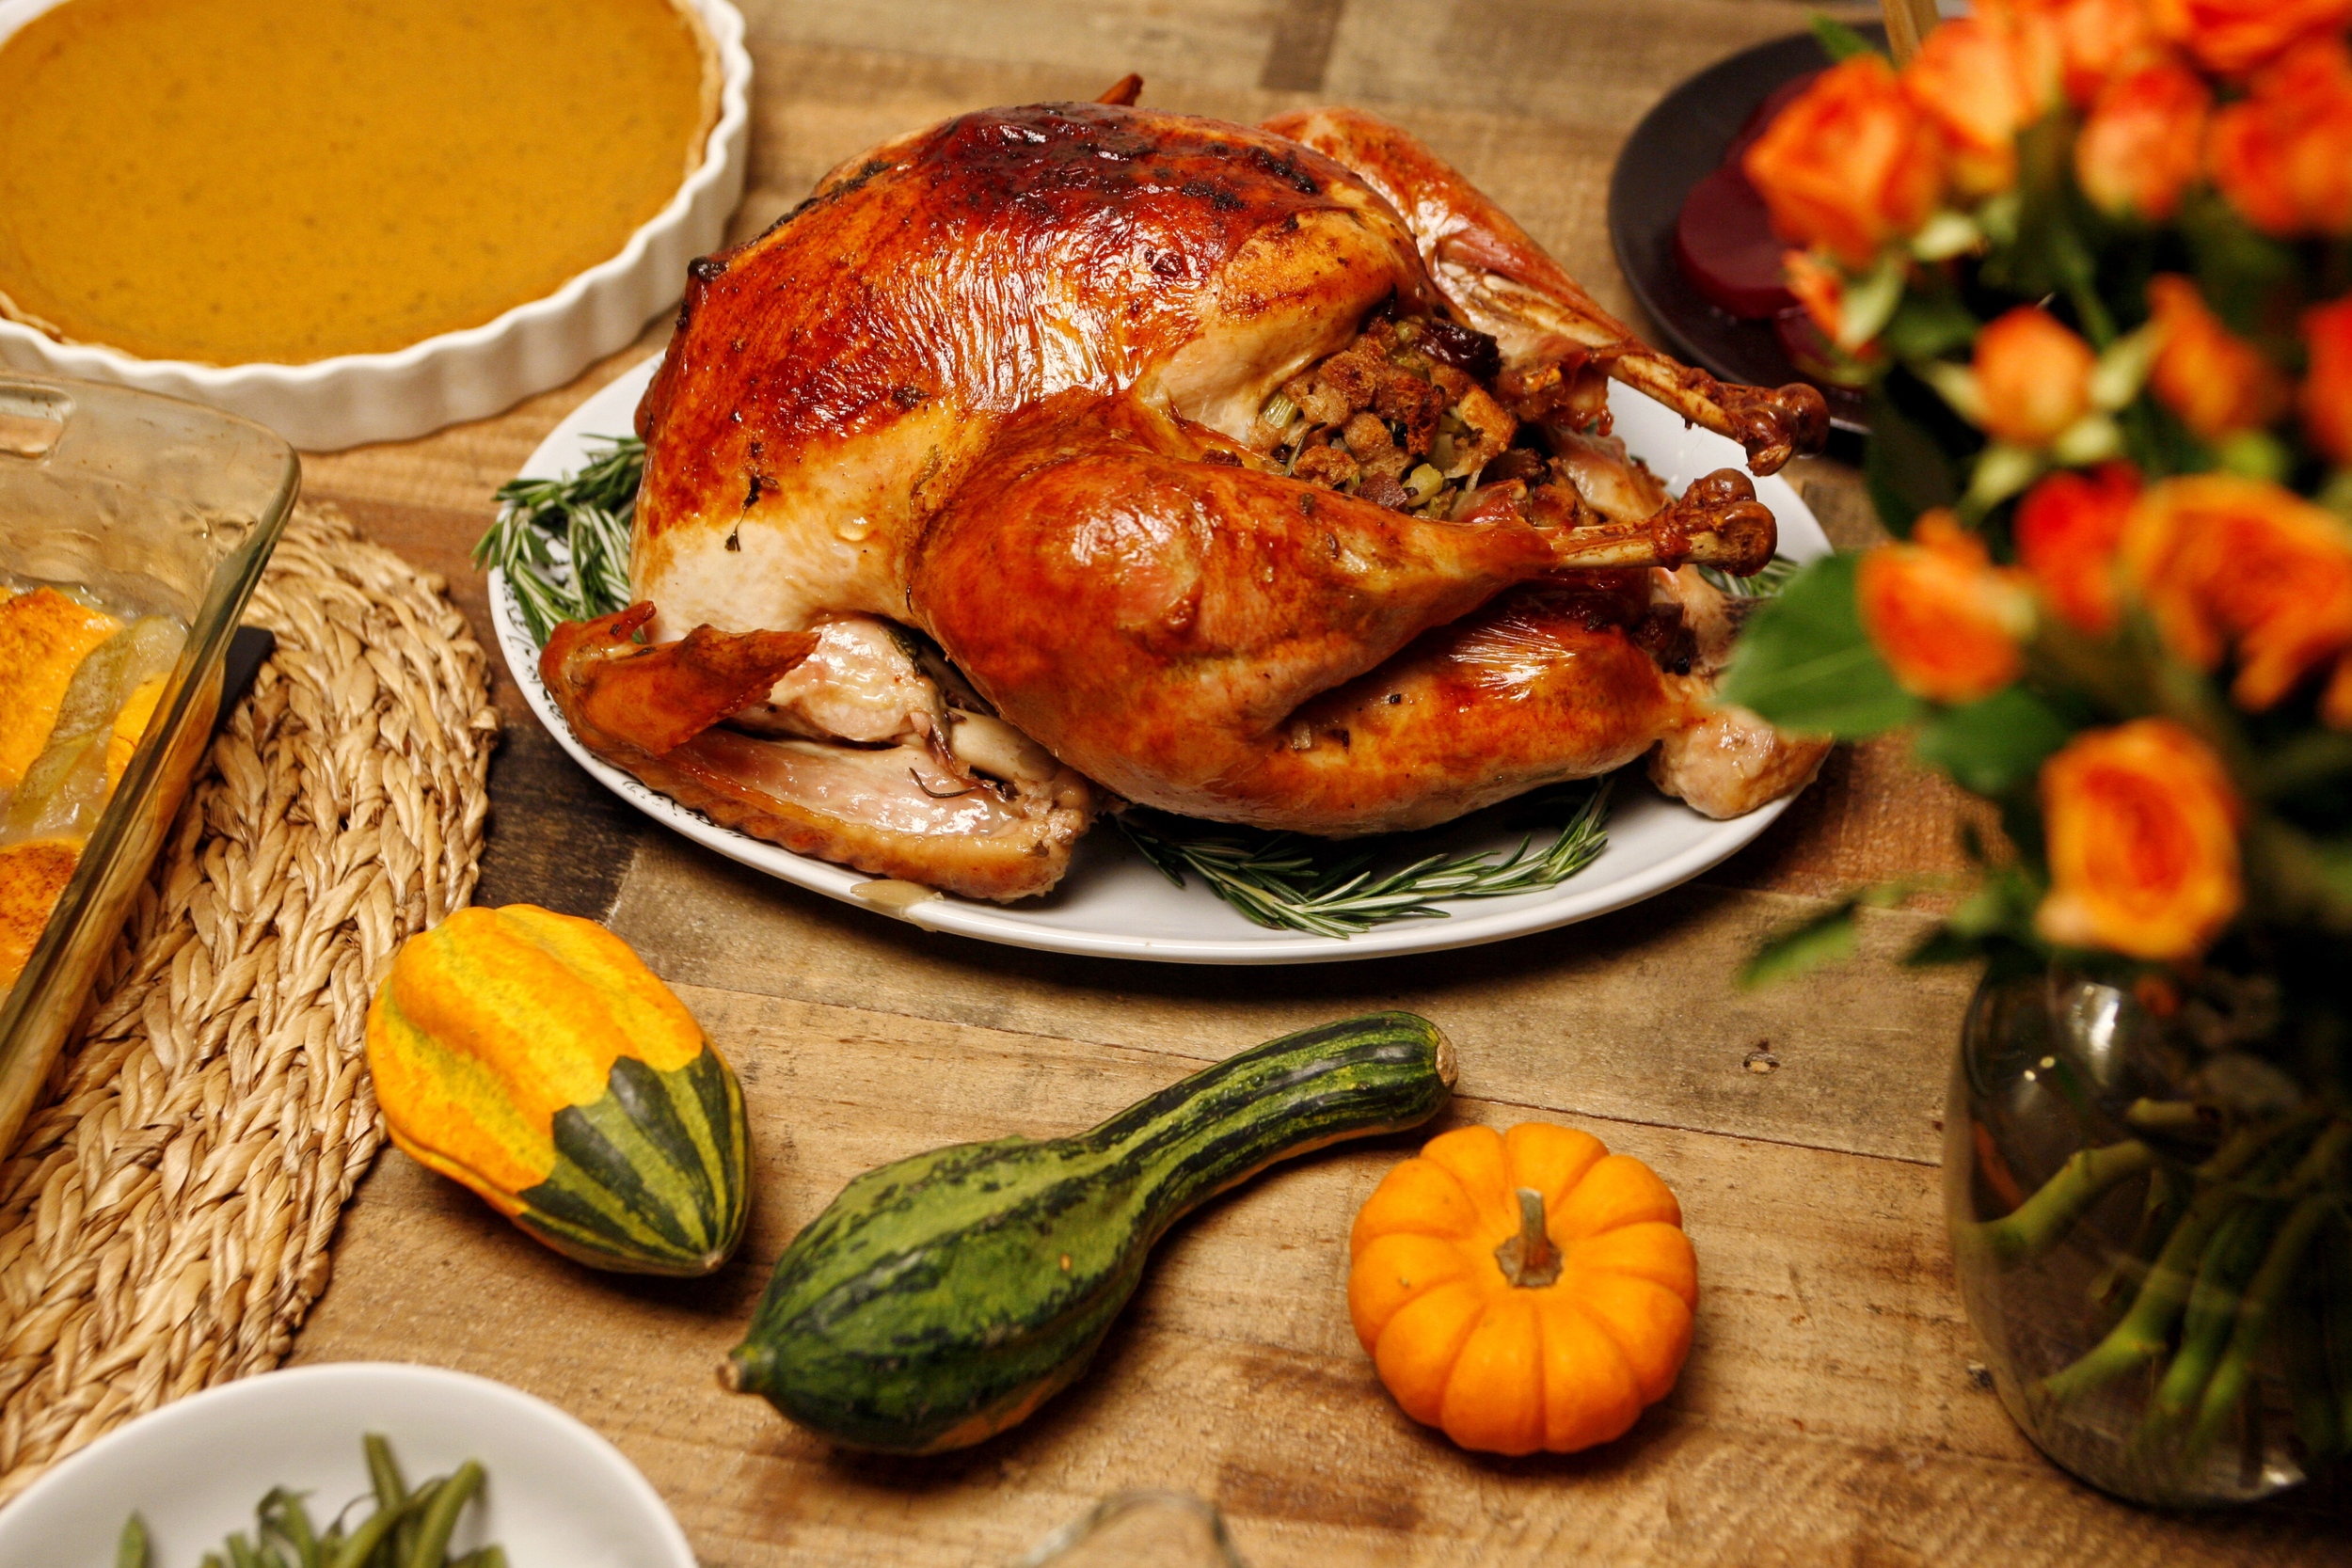
Today's post is all about my cook-a-thon from yesterday's feast! I've been cooking our turkey's for the past 7 years and I must admit, this year's turkey was the best yet! I got a decent-sized bird to last us for days, just shy of 14 pounds! I panicked the first time I handled a turkey. The idea of cooking the darn thing was intimidating enough, let alone preparing all the side dishes and appetizers, cocktails, etc. Secondly, I was honestly grossed out. But now, with persistent practice in the kitchen, I prep faster and with more confidence, therefore with much more ease. It's a breeze now and I relish the idea of cooking a 20+lber one day, ha ha! This year was also the first time where I never felt overwhelmed! My cooking skills are improving, and I'm so happy to share with you my progress thus far! Here are a few tricks of the trade I've learned from the many Thanksgiving dinners I've made in the past years:

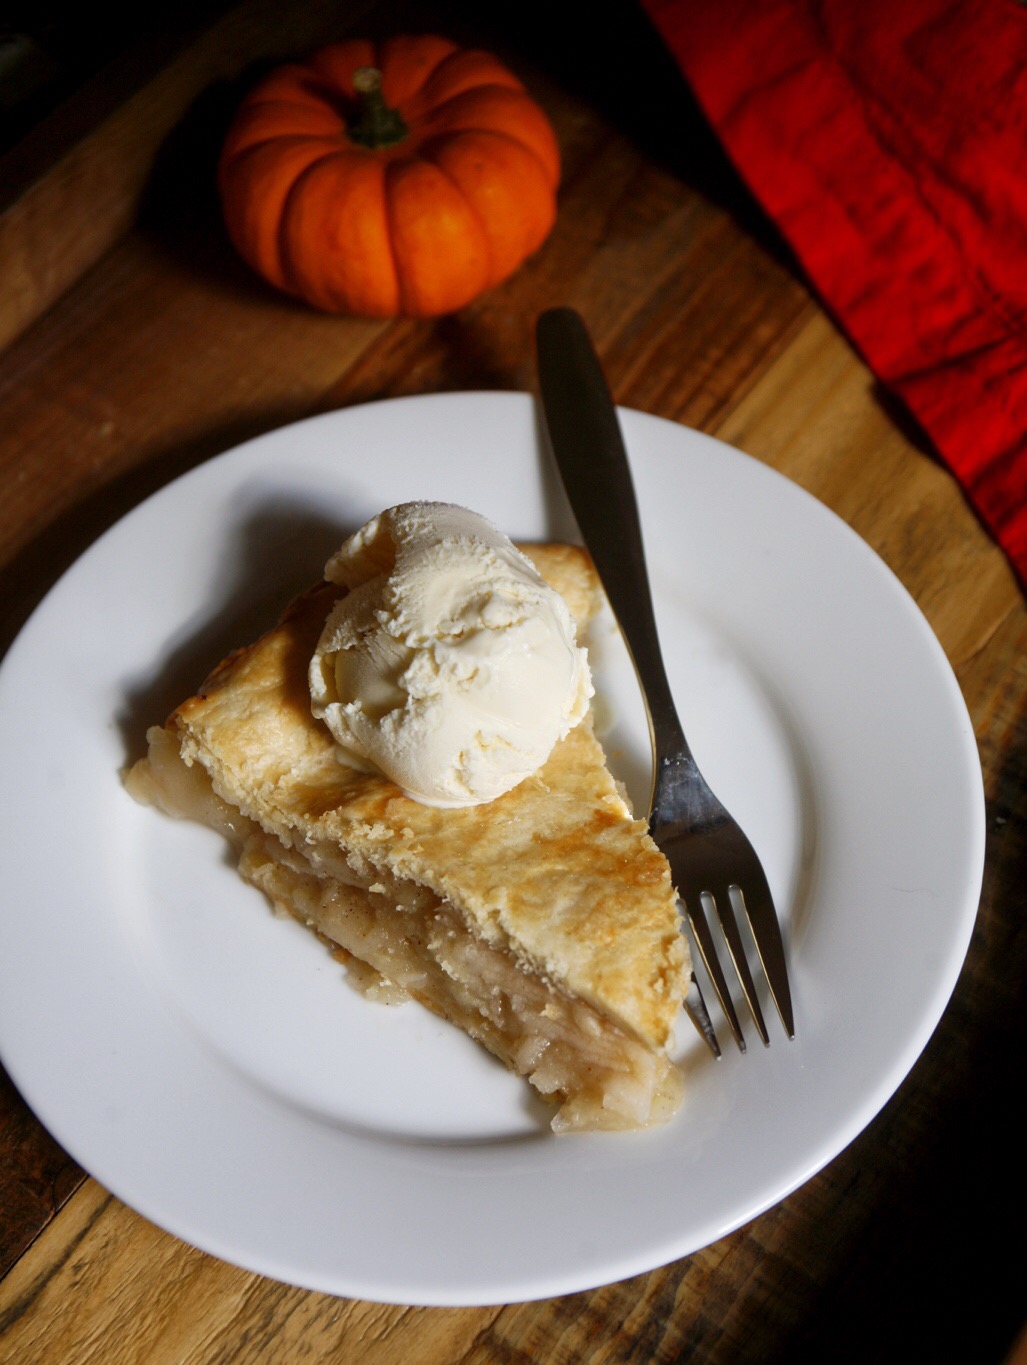
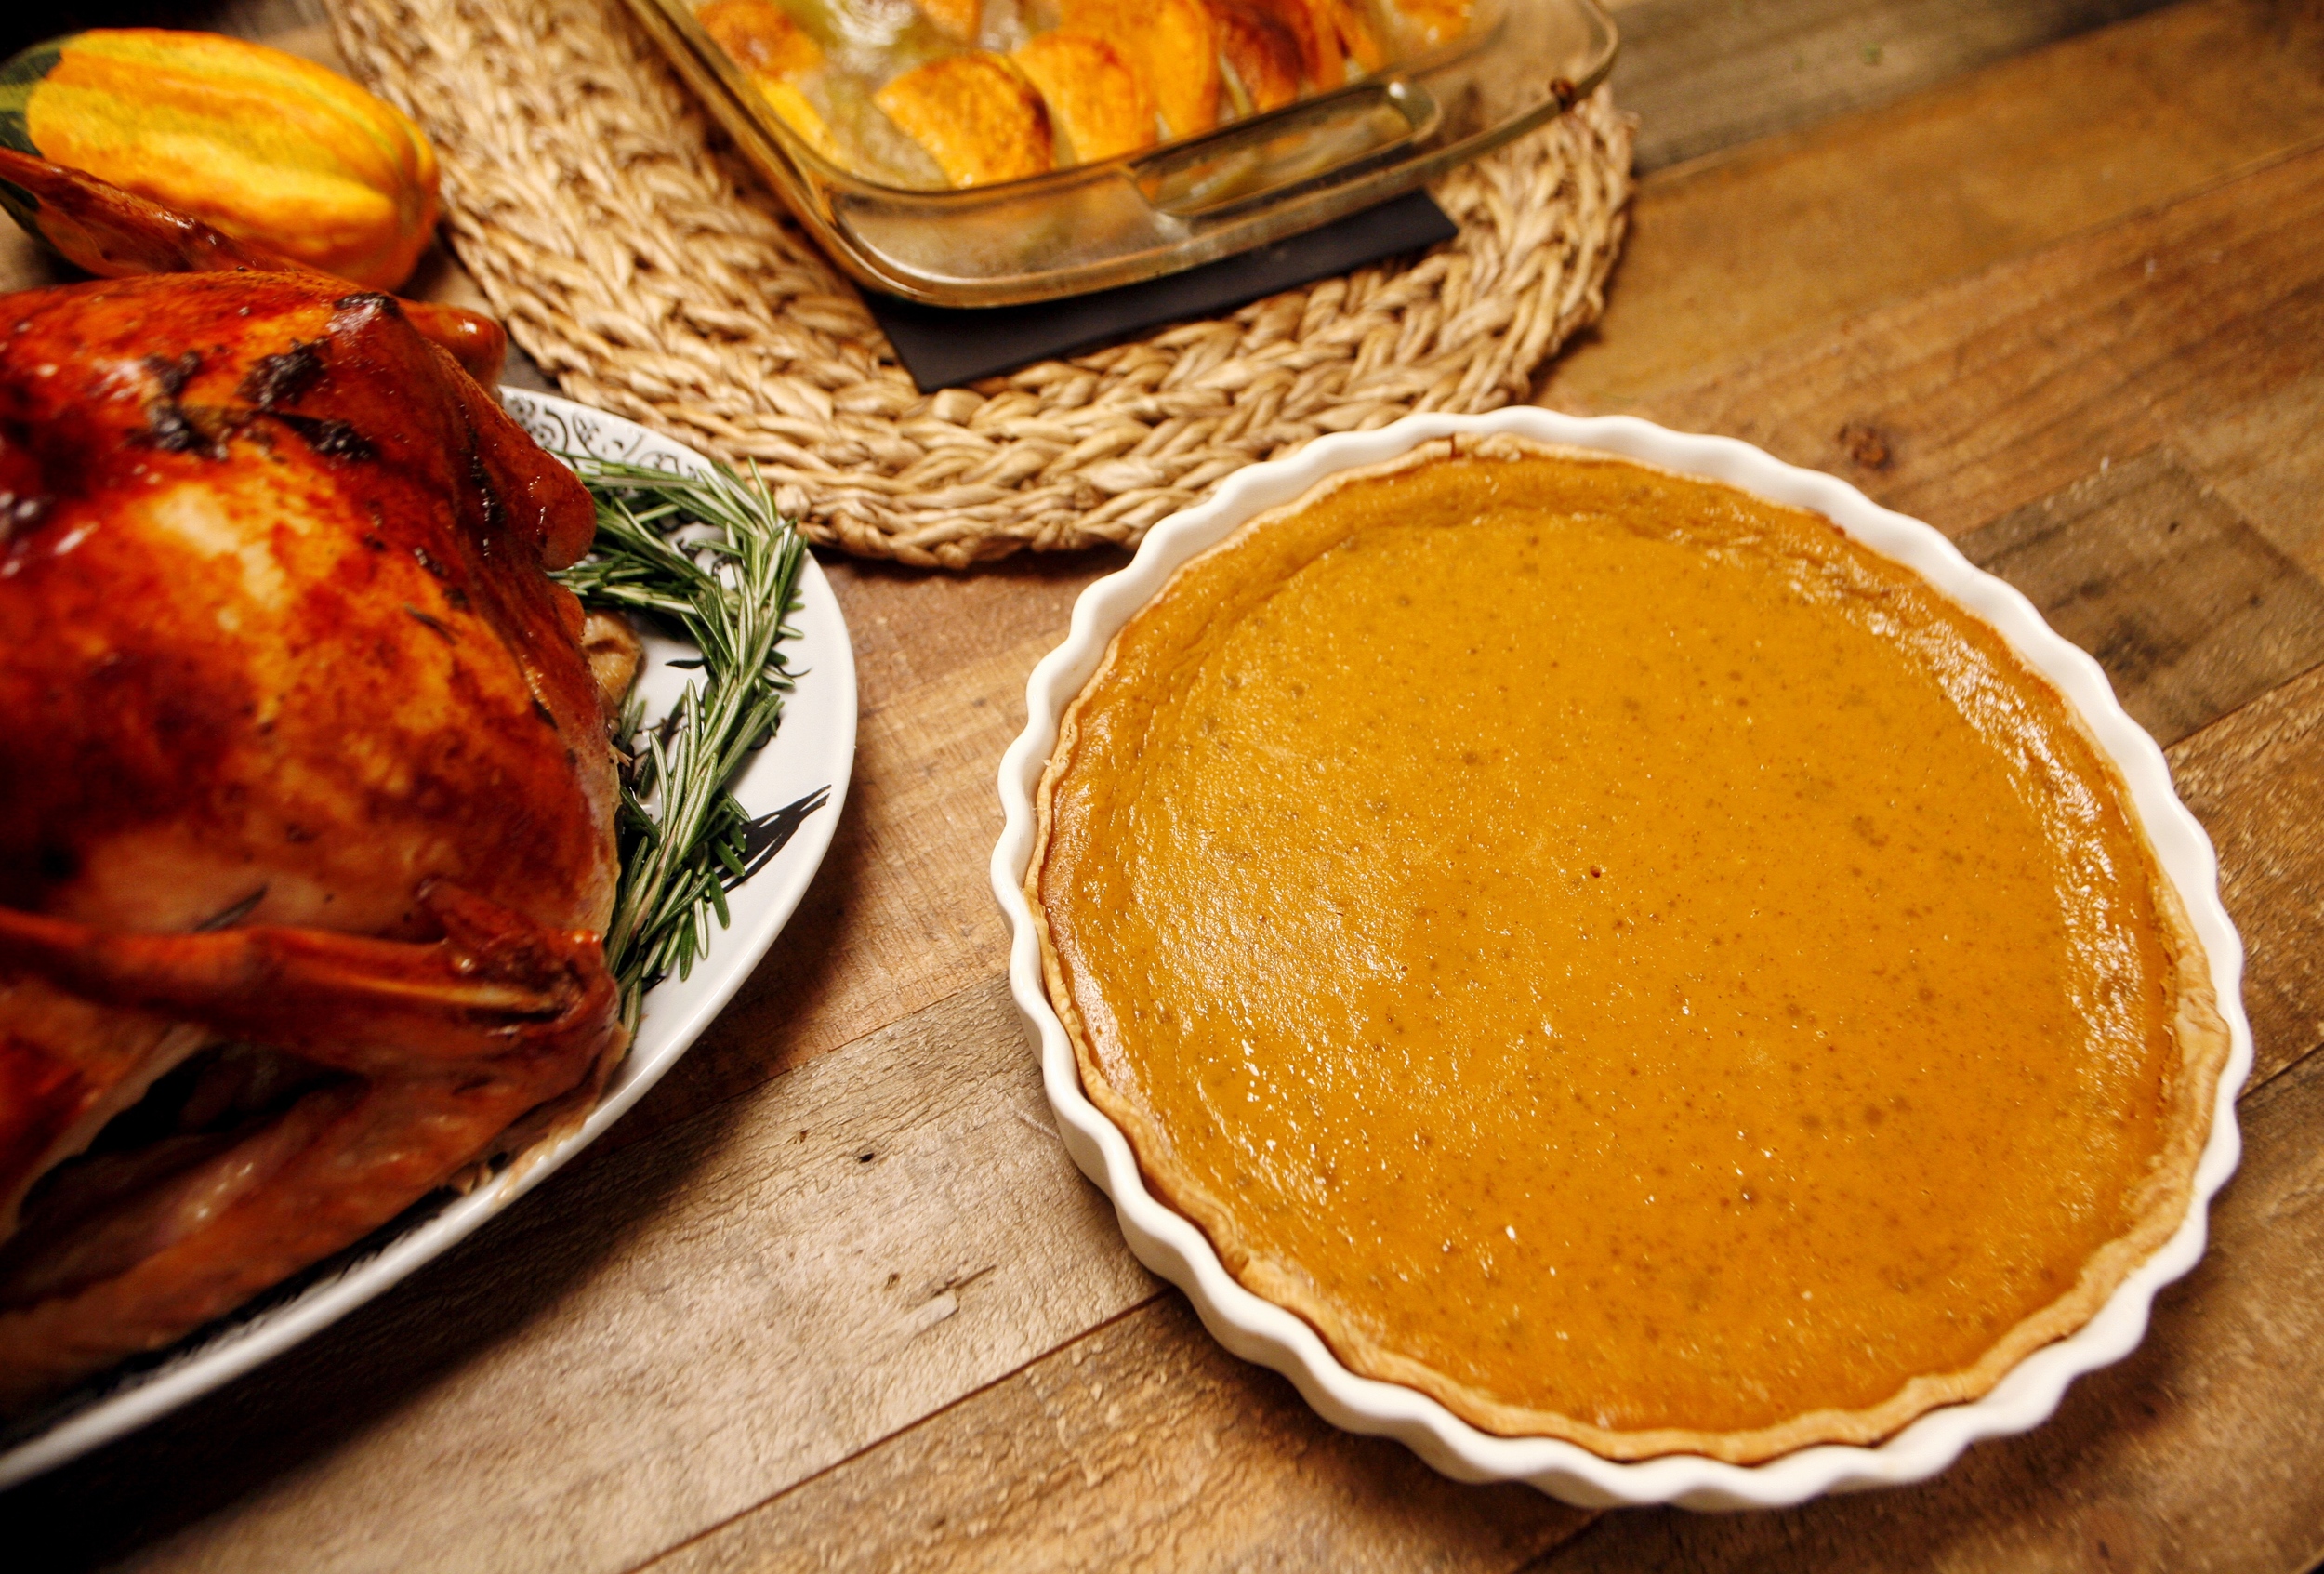
ALWAYS PREP IN ADVANCE! I can't tell you how many times I was that dingdong who'd rush to the market on the day of Thanksgiving. BAD Suz! BAD. Life is continuously hectic in New York, and I never could seem to manage to prepare anything beforehand and made everything on the actual day! This year in particular, I bought everything I needed the day before. Lol. I also made the pumpkin pie on Thanksgiving Eve, which definitely helped take off a little pressure from all the cooking on the day of.

BUTTER, BUTTER & MORE BUTTER. What's the secret to French cooking? That's right, folks, the more the better. If you want your turkey to have a super moist, rich taste, the key is where you put the butter. I like to season mine first with a variety of herbs & seasonings, then take the mixture and place it under the skin. The trick is to not to rip the entire skin off though. I will poke a hole through each end on both sides, and will especially be generous with the butter when it comes to the breast. I put most of the butter in this section because this part of the turkey has a tendency to be the most dry.

COVER TURKEY WITH FOIL. Remove the foil when there is only 1 hour left to finish cooking the bird. This is the time to baste the turkey from the cooked juices, I usually try to do this every 10-15 minutes (for an hour), giving it a nice brown on the skin. Doesn't it look delicious?!

USE UNFLAVORED DENTAL FLOSS TO TIE THE LEGS. It's easy to remove and even easier to tie if you have an extra pair of hands. (Thanks, hubby bear for the awesome teamwork!) I'm not sure what everyone else uses, but I've been using this method for years and it's never failed to secure them tightly!

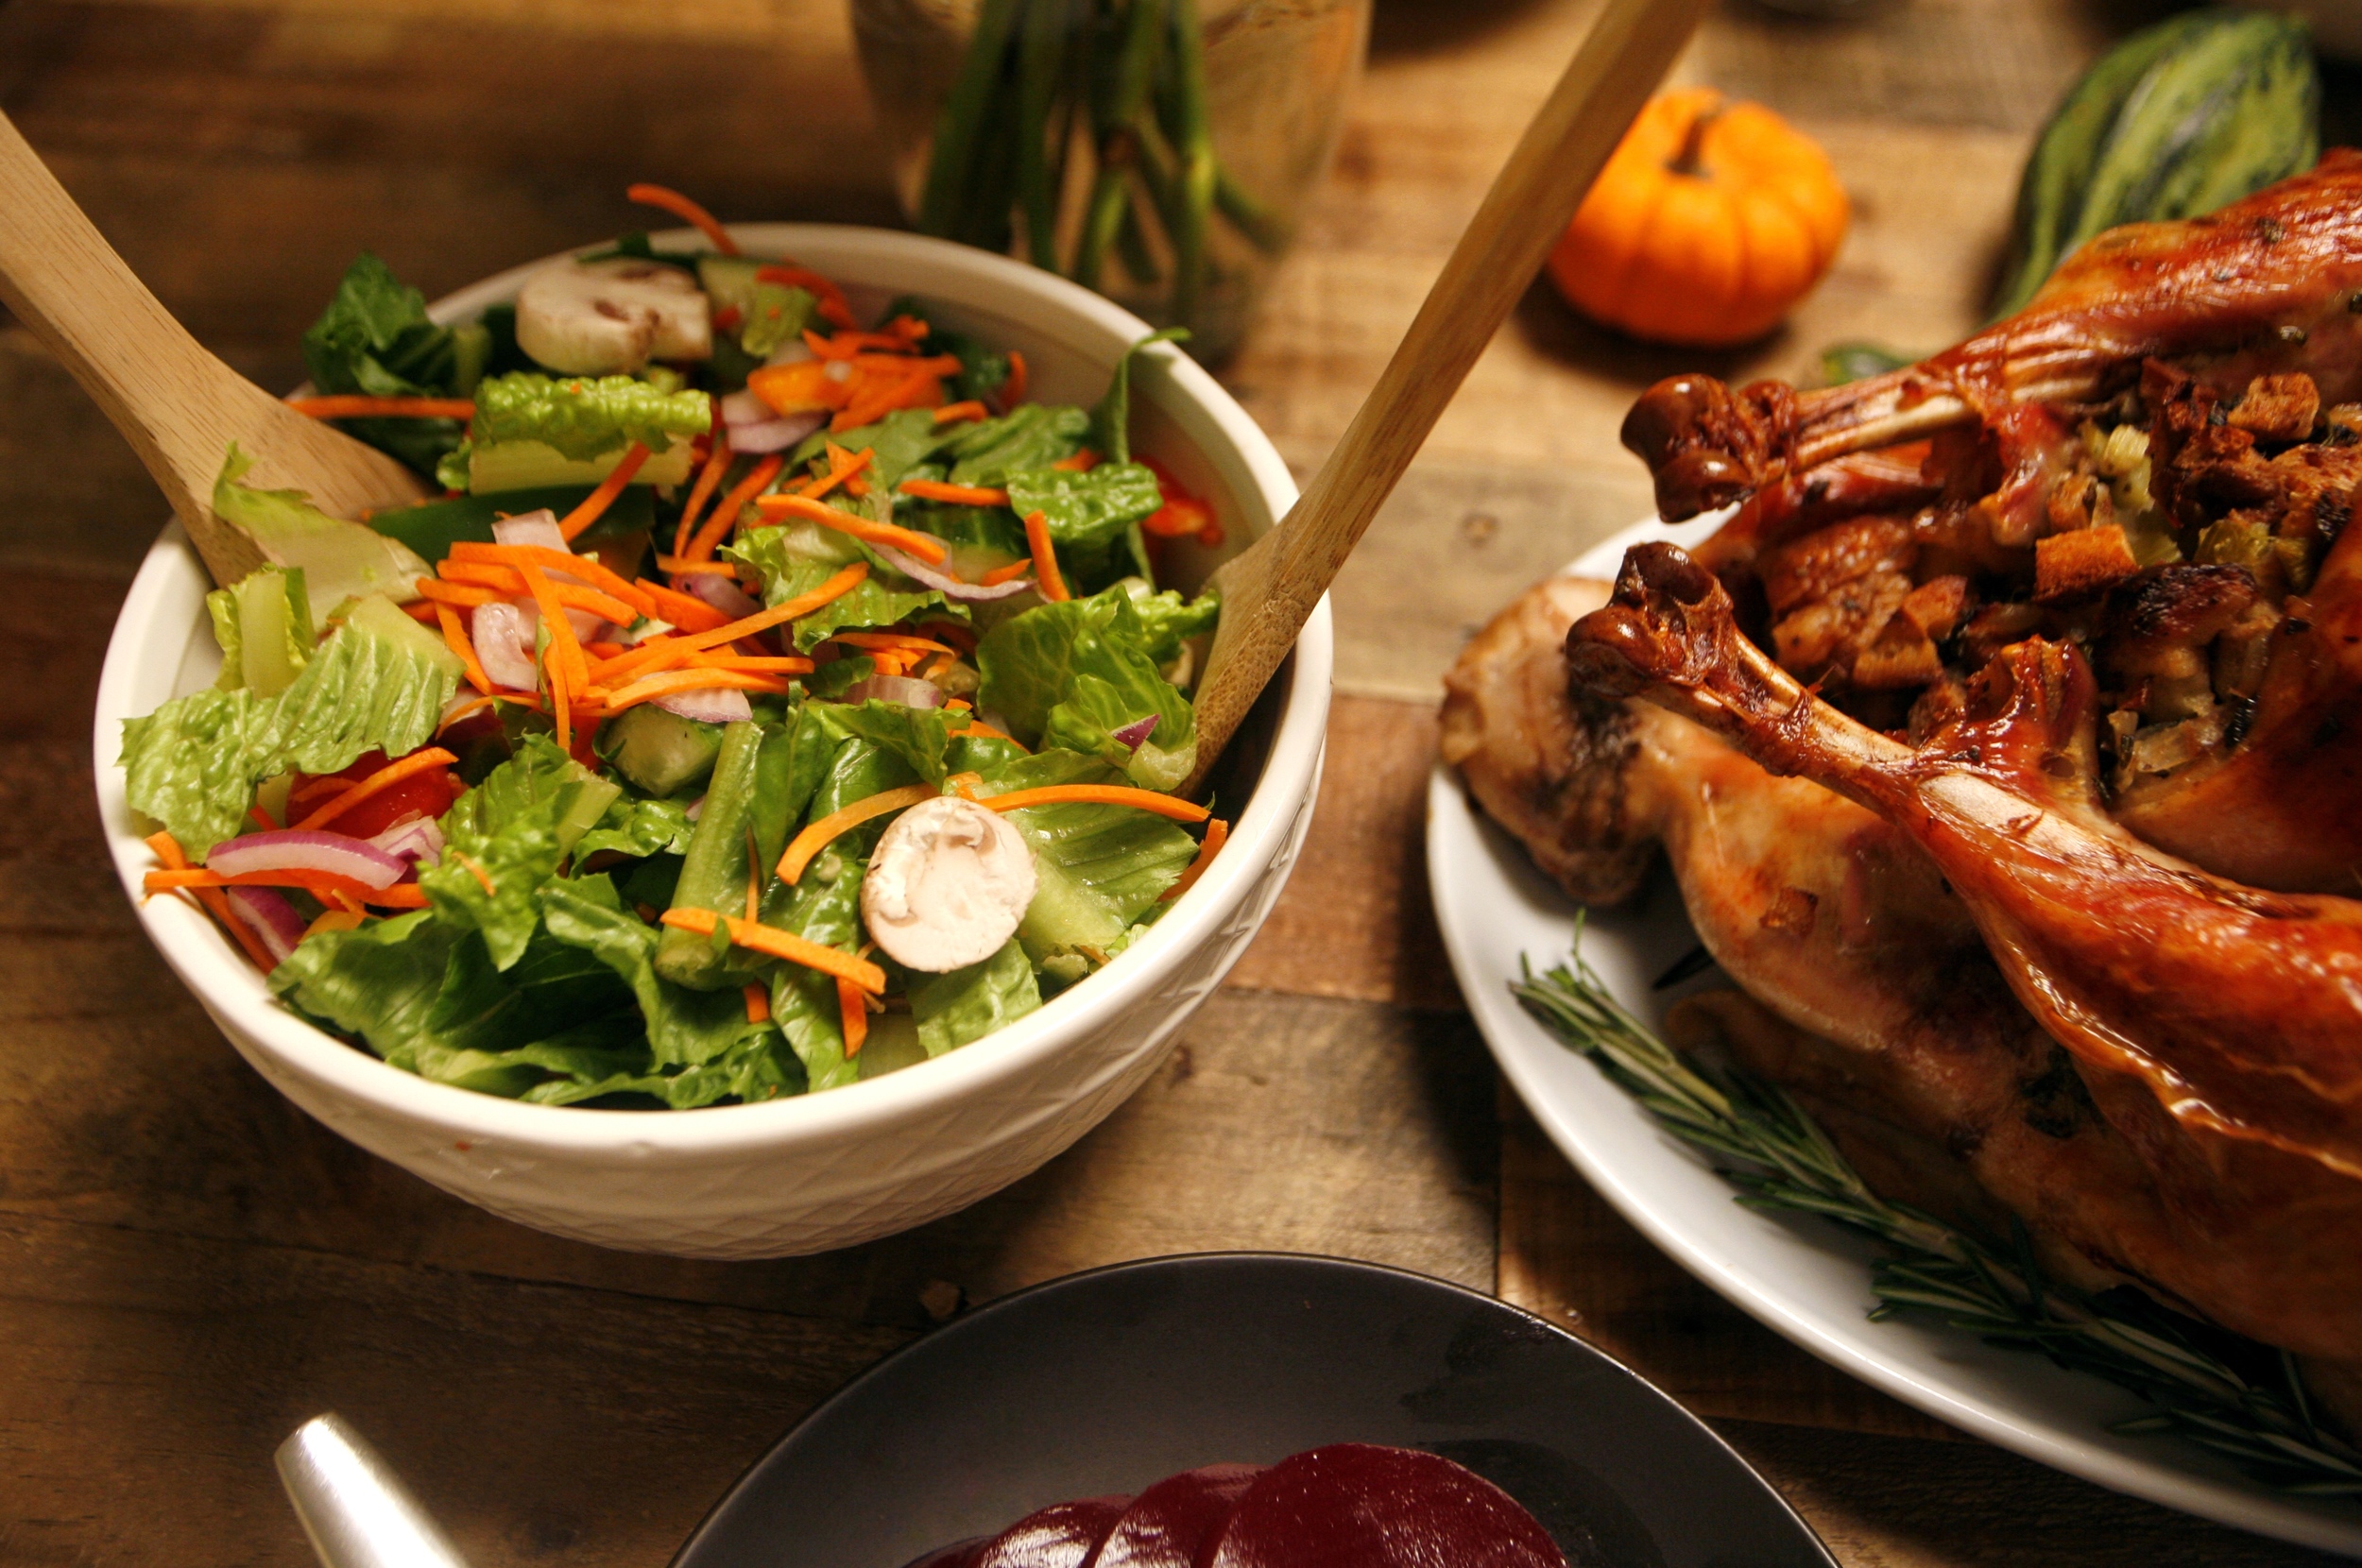
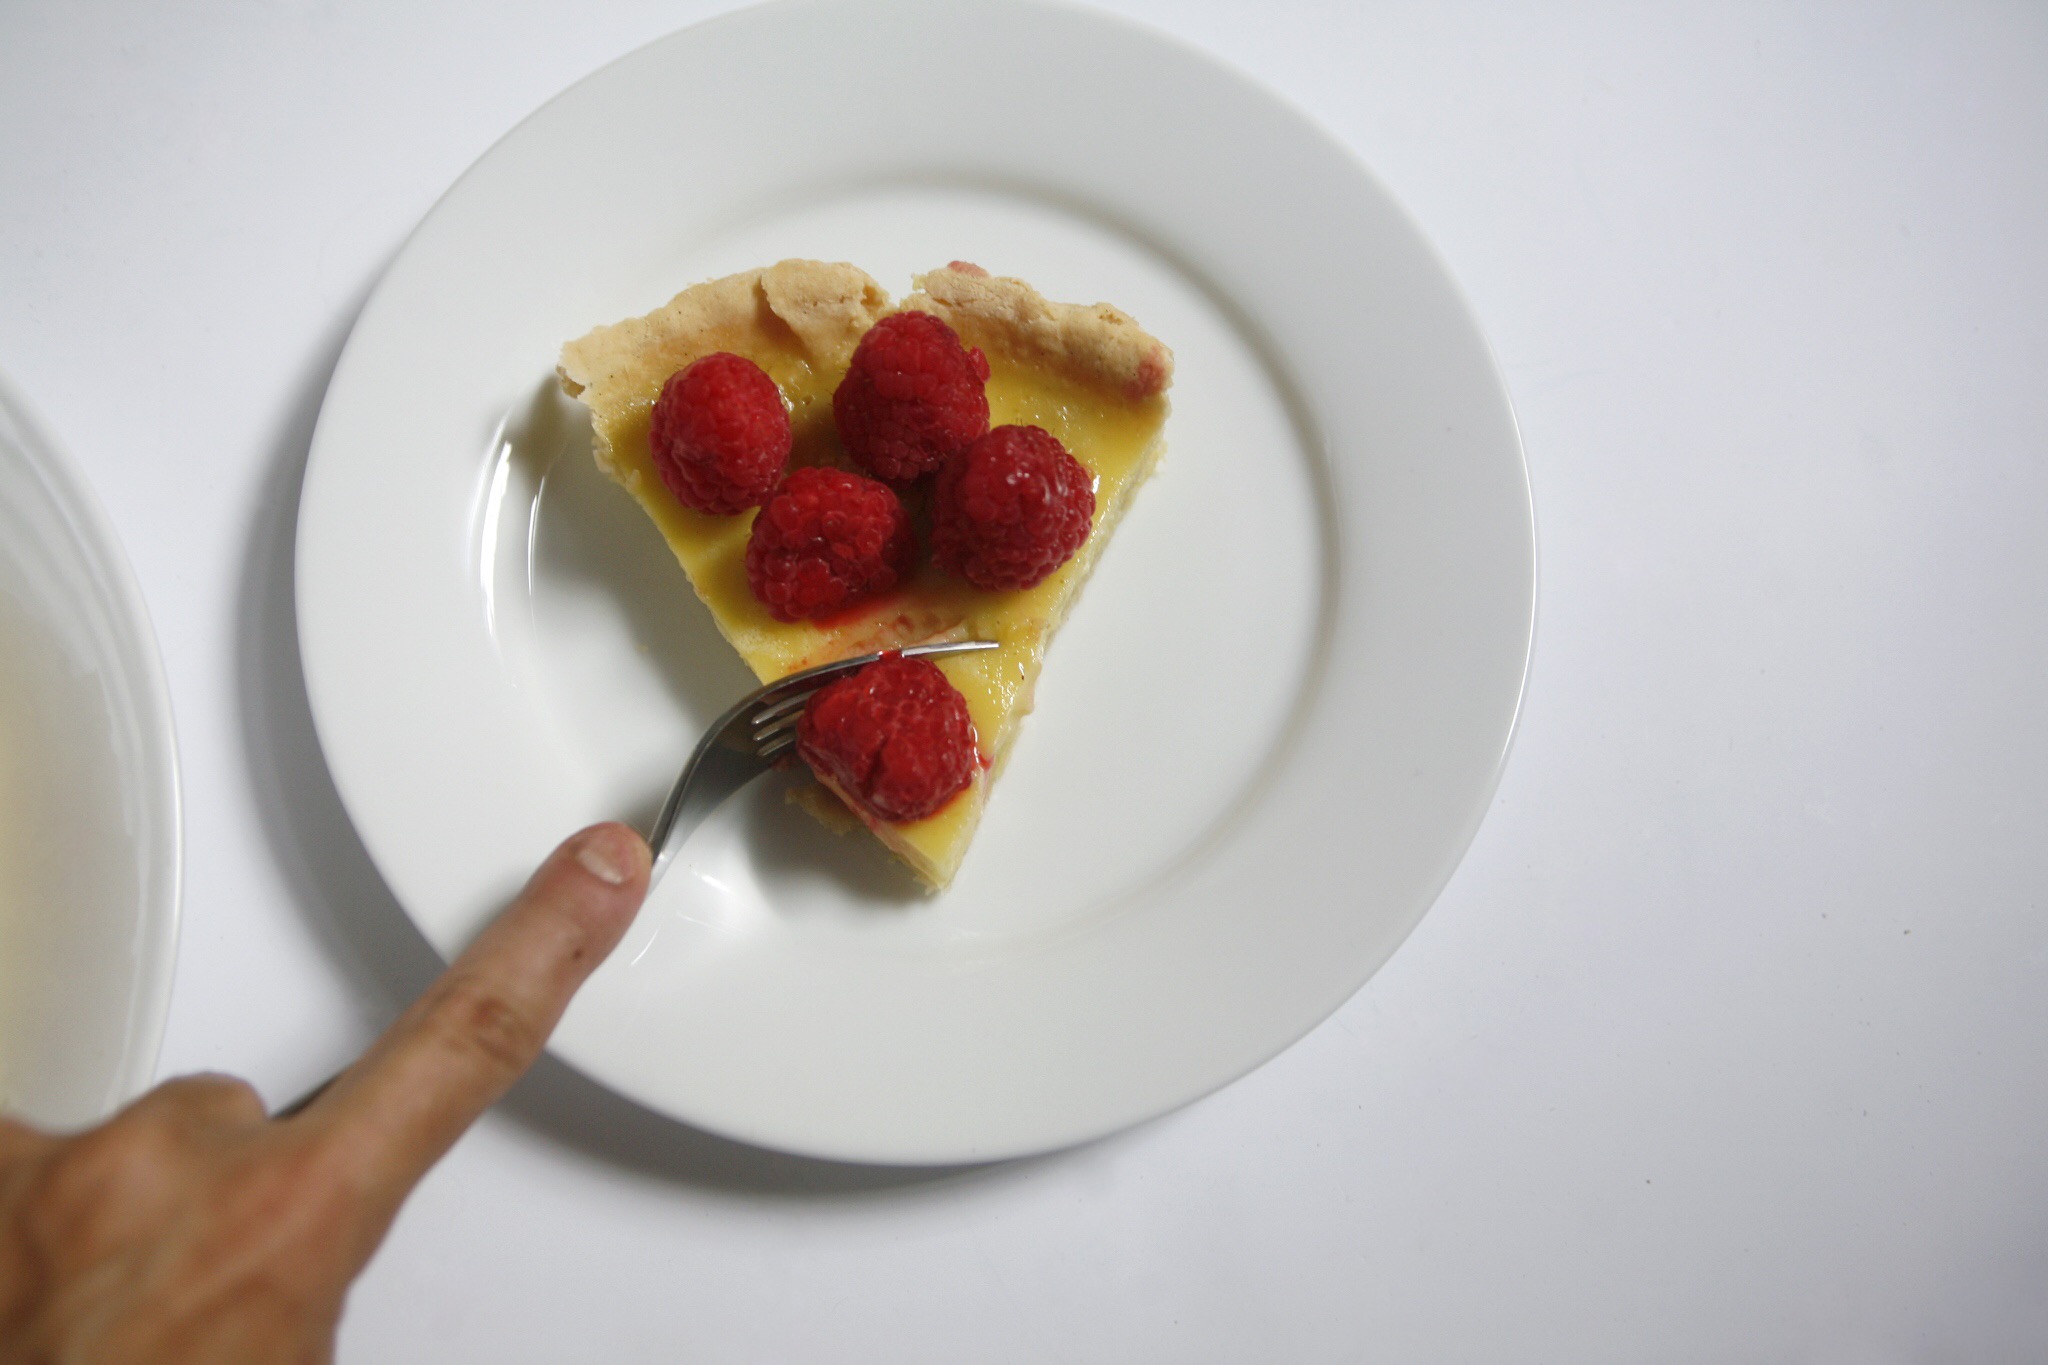
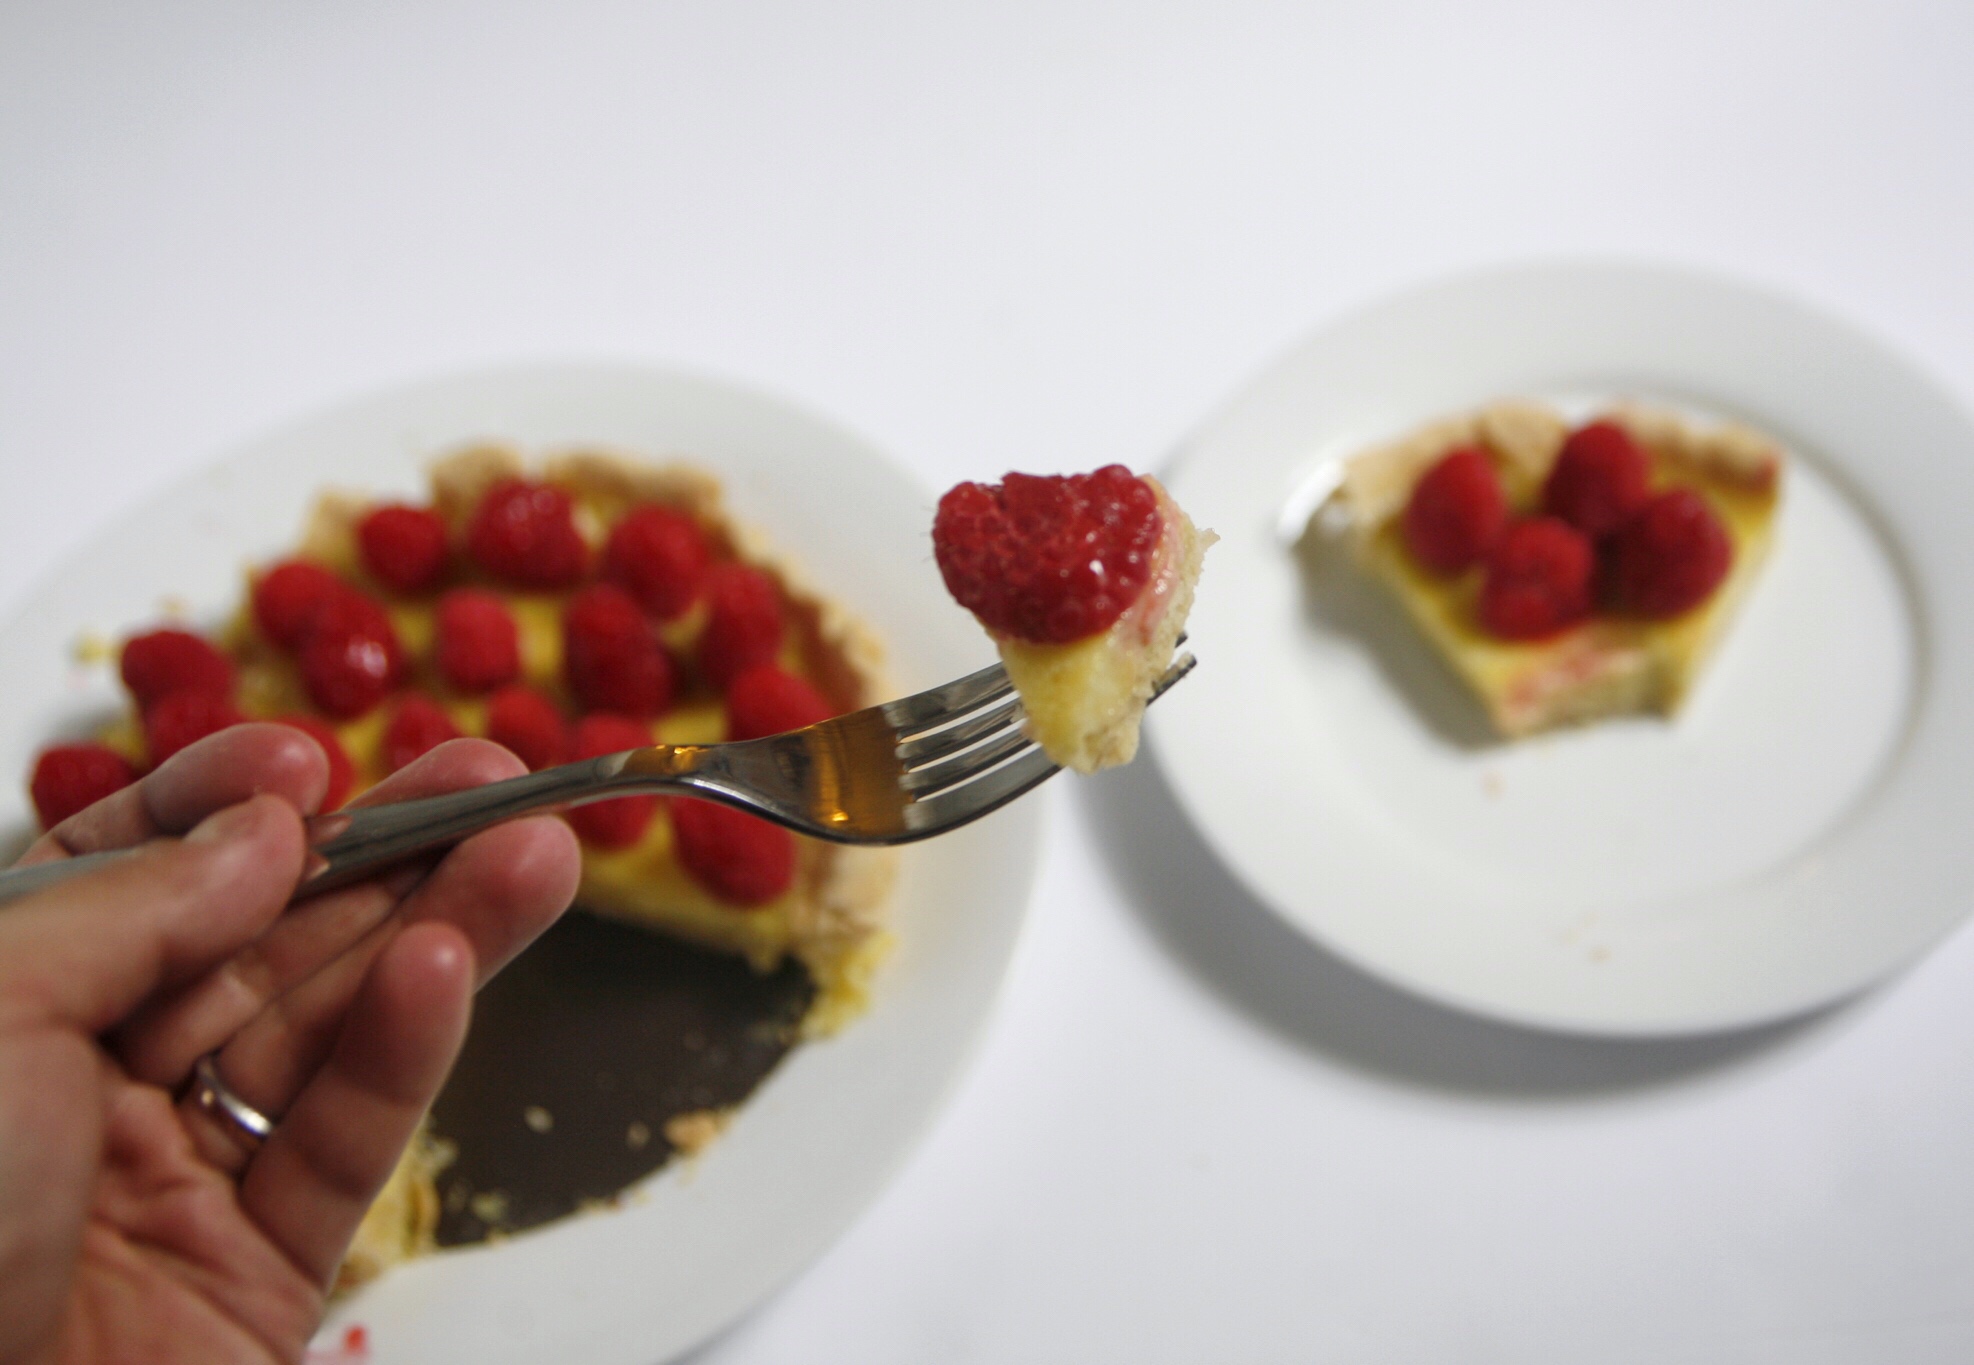
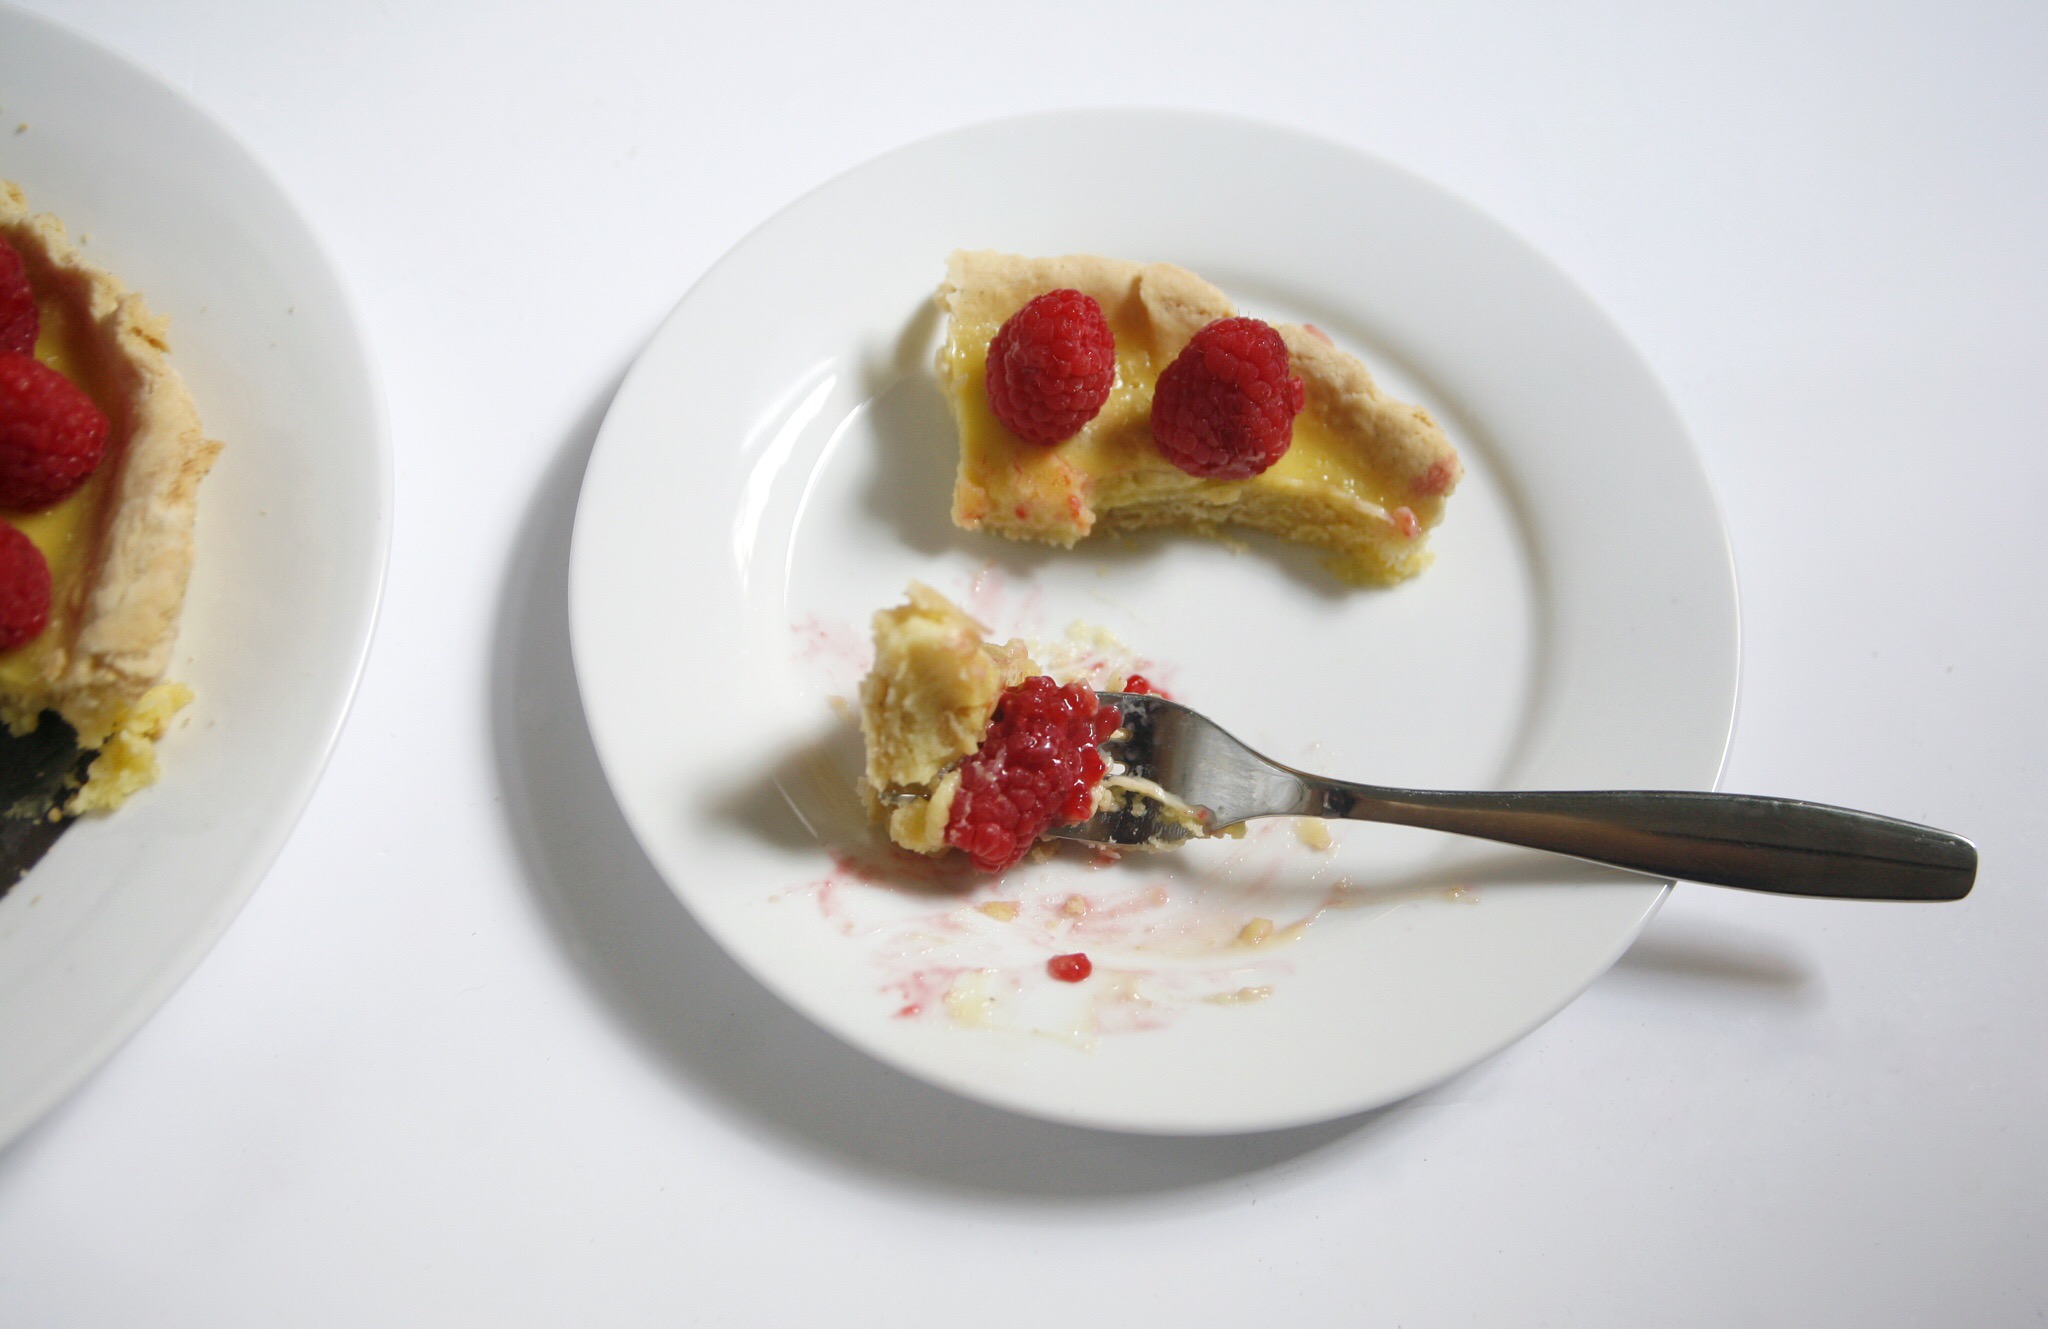
A VARIETY OF SIDES GOES A LONG WAY. Some of my favorite trimmings are mashed potatoes and stuffing (or dressing as the South calls it). I could literally survive on the stuff! But you never know who's going to show up, so it's a good thing to mix it up and try different and new recipes. I also made my version of candied yams & apples, which is on the sweeter side comparatively to the other dishes. Salad is also a great starter. I mixed mine with mushrooms, red & yellow peppers, onion, cucumbers, tomatos and shredded carrots. I also will normally have some kind of bread at the table but I totally forget about it in the photo! Last are the cranberry sauce and green beans which are always winners.

HOW TO GET THE FLUFFIEST MASHED POTATOES. A whisk! Just whip those taters up like you're whisking eggs and it'll be the airiest potatoes of your life! Secret's also in the right amount of butter and milk. Don't forget the salt too!

APPEARENCE DOES COUNT. Any kind of decorative effort brings liveliness to a place/setting. Whether it's flowers, funky-looking squash and pumpkins, or a fabulous table runner, I try to keep the spread looking simple yet appealing. Plus, you'll still have all your decorations after which will still keep your place looking fun and festive, unless you like to jump into Christmas right away.  :)

What are some of your favorite tricks for Thanksgiving dinners? Favorite sides? What about your least favorite dish you still come across? Like fruitcake during Christmas? Ha ha! Have a safe rest of your Black Friday and enjoy the Holiday weekend! <3

Love & xx's,

maQ + suz

Apple Pie From Scratch

Okay, don't be too jealous, but for today's lunch, I baked (then obviously ate) a homemade apple pie! Well, not to its entirety! But I did enjoy it with a generous scoop of vanilla ice cream. ;)

It's one of my staple desserts for Fall. And because I am trying to hone in my skills as a baker, I was determined to make this apple pie the best apple pie I've made to date! My weakness has never ever been with the filling. This I can do in my sleep. I have the most difficulty with the pie dough, and making it from scratch does have its challenges. But, just like any other form of discipline, the more you go at it, the better it's going to be every time! I think it goes without saying, I'm pretty happy with the way this pie turned out today! Baking ninja skills successfully improved!  I even gave myself a gold star! Ha ha ha! Kidding.

Does this pie look gorgeous or what?! I baked this bad boy to near perfection! I'm seriously giving myself a good ole' pat on the back because this is the finest pie I've ever made. I can't wait to stuff my hubby with it tonight after dinner!

The Best Apple Pie

Yield: 8-10 servings

A simple and delicious recipe for "the best apple pie" -- made almost entirely with a food processor! Recipe from Gimme Some Oven

Prep: 25 mins Cook: 1 hour Total: 1 hour 25 mins

Ingredients:

    1 double-crust pie dough, refrigerated (*see below for recipe*)

    2 tablespoons all-purpose flour, plus more for dusting the workspace

    3/4 cup sugar, plus extra for dusting the top of the crust

    1/2 teaspoon ground cinnamon

    1/4 teaspoon ground nutmeg

    1/4 teaspoon salt

    1/8 teaspoon allspice

    3 large Granny Smith apples (about 1.5 pounds), cored and peeled

    4 large McIntosh apples (about 2 pounds), cored and peeled

    1 Tbsp. lemon juice

    1 large egg white, lightly beaten

    (optional) vanilla ice cream and whipped cream for serving

Β 

Directions:

Preheat oven to 375 degrees. Prepare a 9-inch pie plate with cooking spray.

Roll out the two pieces of dough on a floured workspace into large circles, until the larger one is at least 12-inches in diameter, and the smaller one is about 10-inches in diameter. Carefully transfer the larger pie dough to the pie plate by and press it in gently to line the entire bottom of the pan, with the dough sticking out at least 1/2-inch above the rim. Cover gently with plastic wrap and refrigerate.

While the dough is re-cooling, whisk together the sugar, cinnamon, salt and allspice in a large bowl until mixed. Set aside.

Fit your food processor with a slicing disc attachment, and thinly slice all of the apples. (You can also do this by hand with a knife.) Toss the apples with the lemon juice until evenly coated. Then transfer the apples to the large bowl with the flour mixture, and gently toss until all of the apples are fairly evenly coated with the flour mixture.

Turn the fruit mixture, including the juices, into the chilled pie shell and mound the apples slightly in the center. Carefully lay the second (10-inch) pie crust on top of the apples so that it is centered around the bottom crust. Trim the edges of the top and bottom crust to 1/2-inch beyond the pie pan lip. Then tuck the rim of dough underneath itself so that the folded edge is flush with the pan lip. Flute the edge or press with the tines of a fork to seal the pie crust. Cut 4 small slits in the top of the dough.

Return pie to the freezer for 10 minutes. Then remove and brush with the egg white, and sprinkle evenly with a few pinches of sugar. Cover the edges of the pie crust lightly with aluminum foil or a pie crust shield.

Bake for 40 minutes, then remove pie crust shield. Bake for an additional 20 minutes, or until the crust is a deep golden brown and the juices just barely start to seep out.

Transfer pie to a wire rack and let cool to room temperature before slicing, at least 3 hours.

*Here is my favorite all-butter DOUBLE pie crust recipe:

Ingredients:

    2 3/4 cups all-purpose flour

    1 tablespoon sugar

    1 teaspoon salt

    1 cup (2 sticks) cold butter, cut into 1/4-inch cubes

    1/2 cup COLD water

Β 

Instructions:

Add the flour, sugar and salt to a food processor. Pulse a few times until well-blended. Scatter in the butter, and pulse 7-8 times to cut in the butter well. Remove lid and fluff the mixture with a fork to be sure that it is not sticking to the sides or bottom of the food processor. Drizzle half of the water over the dry ingredients, then pulse another 5-6 times until crumbly. Fluff the pastry again with a fork, then sprinkle on the remaining water. Pulse 5-6 more times until the pastry starts to form small clumps and looks crumbly. (If the dough completely balls up and sticks together around the center blade, you have pulsed too far!)

Transfer the dough to a large bowl, and use your hands to pack it into a ball, just like you would a snowball. Separate the dough into two pieces, with one just slightly larger than the other (to make the bottom of the pie crust). Knead each ball of dough a few times, then flatten to make perfecly round disks about 3/4-inch in thickness. Wrap each disc in plastic wrap and refrigerate for at least an hour before rolling.

Growing up I mostly watched one of my Aunt's make pies. Baking did not exist in my mom's DNA. LOL! But I began to learn early on some tricks of the trade. But beware! Not all techniques work for everyone! That whole roll your dough out on the pie plate with the rolling pin? Never has done anything for me except having to start all over again because the dough broke. Two key tools I always recommend when it comes to pies is one, COLD ass water (put ice cubes in it to make it extra cold) when making the dough, and WAX PAPER.

I use the wax paper to better stabilize the dough when rolling it out and also when I put it in the pie plate. What about additional toppings? Are you an ice cream gal like me or do you love extras like whipped cream, extra cinnamon, etc?

The aroma is tortuous! Seriously, the smell is intoxicating! I am salivating as I type this! I have to go for seconds, forget about waiting for this pie to cool down! I'm going in...

What are your strategies/tips when it comes to baking pies? I'd love to hear from you!

Happy Monday!

Love & xx's,

maQ + suz

Friday: Lime Raspberry Flan

You know what's my weakness when it comes to cooking? BAKING! Arrgh! Just thinking about it makes me go, "NO!"

I'm not the type to take measurements very seriously, let alone think like a chemist. All credit goes to my Ma. And she was not a baker. Growing up as a kid, she taught me how to cook with how many pinches of this and how many swirls of that. All of it savory. I'm a firm believer that cooking comes from the heart and soul. A fine dish is made with pure love.

I am not an avid baker, but do try to take time to refine this skill. Because I suck at it! And I most certainly make it with nothing but love! Today's dessert is a lime raspberry flan. The fruity combination is killer in my book. But aesthetically I was very disappointed with myself (Gordon Ramsey you'd spank me so HARD right now!), BUT what's more important is how it tastes. And not to brag, but it is so freaking delicious! I tried following the recipe without using a Thermomix, since I didn't have one, and instead, used a food processor. Let me tell you something. You've got to be reliable in the kitchen! Make it work! I'm happy I did, but next time I make another tart, the presentation must be better. 

Take a look. Pictures and recipe below. Feel free to comment.

Have a lovely weekend!

Love & xx's,

maQ + suz

Lime Raspberry Flan Recipe

  • Shortcrust pastry

  • 260 g plain flour
  • 2 tbsp caster sugar
  • 130 g cold butter, cubed
  • 1 egg yolk
  • 60 g sour cream
  • 1 tsp vanilla bean paste
  • Filling

  • 3 limes, zest and juice
  • 200 g sugar
  • 3 eggs
  • 130 g sour cream
  • 20 g corn flour
  • 200 g frozen or fresh raspberries

Do

  1. Pastry; 
  2. Place flour, sugar and butter into Thermo bowl and mix 5 sec/speed 5. 
  3. Add remaining ingredients and mix 10 sec/speed 5. 
  4. Tip out onto floured Silpat mat and press into a disc.
  5. Roll out to fit a 18-20cm flan tin with removable base. Do not trim edges. Place in freezer for at least 30 minutes. 
  6. Preheat oven to 180ΒΊC and blind bake for 20 minutes. Remove baking beans. Trim edges neatly to the rim of the flan tin. Reduce oven temperature to 160ΒΊC. 
  7. Filling; 
  8. Place zest and sugar into Thermo bowl and mill 10 sec/speed 10.
  9. Add remaining ingredients except raspberries and mix 10 sec/speed 5.
  10. Pour filling into pastry shell. Bake for 40 minutes or until custard is just wobbly in centre.

More

Garnish with raspberries and dust with icing sugar and cool completely before serving with ice cream or whipped cream.